 Bonus weapons
Successfully complete the indicated task to unlock the corresponding weapon:
- AK-47: Clear one gang hideout.
- Auto-6: Unlocked through the "CyberPunk Single Player Pack".
- Biometric assault rifle: Successfully complete the pre-order "Signature Shot" DLC missions, then complete the "A Wrench In the Works" mission.
- Chrome revolver: Successfully complete ten crime detection missions.
- Destroyer sniper rifle: Stop ten criminal convoys.
- Gold D50 Desert Eagle: Spend 30 Uplay points.
- M1 SMG: Unlocked through the "Untouchables Pre-Order Pack".
- Spec Ops Goblin assault rifle: Successfully complete nine weapons trades missions.
- Spec Ops SMG-11: Clear ten gang hideouts.
- Tommy Gun: Find all QR Codes to unlock the QR Code investigation mission. Successfully complete the mission to unlock the Tommy Gun weapon.
- Wildfire assault rifle: Successfully complete six missing persons cases.
Bonus vehicles
Successfully complete the indicated task to unlock the corresponding vehicle:
- Boxberg LE: Successfully complete the Fixer contracts.
- Papavero Stealth Edition: Spend 40 Uplay points.
- Sayonara LE: Clear out a poker table during a poker match.
- Sunrim: Successfully complete the privacy invasions.
- Vespid 5.2: Successfully complete the privacy invasions.
- Vespid LE: Collect all eight hidden burner phones.
- Zusume R: Successfully complete the Fixer contracts.
Skills and bonuses
Successfully complete the indicated task to unlock the corresponding bonus:
- ATM Hack Boost skill: Successfully complete the "Palace Pack" mission. This boost increases cash rewards when hacking banks.
- Investigation bonus: Successfully complete the "Palace Pack" mission. This bonus allows more investigative opportunities inside the network databanks.
- Offensive Driver skill: Successfully complete the Fixer contracts.
- Rapid Reload skill: Clear five gang hideouts.
- Vehicle Expert skill: Successfully complete the ULC mission in "The Breakthrough Pack". This skill allows free vehicles from the Underground Car Contact and discounts on selected cars.
Alternate costumes
Successfully complete the indicated task to unlock the corresponding outfit:
- 1920's Mobster: Unlocked through the "Uplay Exclusive Full Rewards Pack" or with a season pass.
- Alone: Successfully complete the "Alone" digital trip.
- Black Viceroys: Successfully complete the pre-order "Signature Shot" DLC missions.
- Blume Agent: Unlocked through the "Blume Agent Pre-Order Pack". It gives a weapon boost (greatly reduced recoil).
- Chicago South Club: Unlocked through the "Club Justice Single Player Pack". It gives a driving boost (more hit points to vehicles).
- Conspiracy!: Successfully complete the "Conspiracy!" DLC digital trip.
- CyberPunk: Unlocked through the "CyberPunk Single Player Pack". It gives the Cyberpunk gun.
- DedSec: Unlocked through the "DedSec Shadow Single Player Pack". It gives a hacking boost (one battery slot).
- Madness: Successfully complete the "Madness" digital trip.
- Psychedelic: Successfully complete all seventeen levels of the "Psychedelic" digital trip.
- Spider-Tank: Successfully complete the "Spider-Tank" digital trip.
- Untouchables: Unlocked through the "Untouchables Pre-Order Pack". It gives the Thompson submachine gun.
- White Hat Hacker: Successfully complete the four PlayStation exclusive missions. It gives a hacking boost (one battery slot).
Reveal all collectibles
Unlock all 13 ctOS Towers to reveal all collectible locations on your map.
City Hotspot badges
Successfully complete the indicated task to unlock the corresponding badge:
- A More Perfect Union: Check into the John Hancock Center on the 4th of July (system date).
- Ahoy!: Check into the Chicago Yacht Club.
- Architectural Marvels: Check into the Chicago World News Tower, Vault Tower, Willis Tower, Triomphe Tower, WKZ-TV Tower, Water Tower, and John Hancock Center.
- Ashes To Ashes: Check into the Burned Down Factory.
- Auto Graveyard: Check into the Junkyard ten times.
- Batter Up!: In a multiplayer session, check into the May Stadium with three players on your friends list.
- Best Buds: In a multiplayer session, check into a location that a player on your friends list has already checked into.
- Big Kahuna: Become the mayor of City Hall.
- Bridge Builder: Check into the Bridge Construction, Cermak Bridge, and Vyvyn K. Turner Bridge.
- Broken Rail: In a multiplayer session, check into the Abandoned Station with a friend.
- Call Of The Water: Check into the Chicago Yacht Club and Windy City Shipyards within 90 seconds of each other.
- Cemetery Waltz: Check into the St. Joseph Cemetery at midnight (game time).
- Centurion: Check in 100 times total.
- Crowd Surfer: In a multiplayer session, check into a location where four other players are checked in.
- Dam It!: Check into the Dam.
- Double Wide: Check into the Pawnee Trailer Park.
- Fugitive: Check into the Palin Correctional Center while actively being chased by the police.
- Getting Around: Check into ten unique locations in the game.
- Got You Something: Leave five gifts at check-in locations.
- Green Thumb: Check into the Botanical Gardens while it is raining.
- Has Bean: Check into the Forever Sculpture ("Breakthrough" exclusive mission).
- Honest Abe: Check into the Abraham Lincoln Statue.
- Jewelers' Delight: Check into 35 East Wacker Drive.
- Keeper Of The Lighthouse: Check into the Harbor Lighthouse.
- Lumberjack: Check into the Pawnee Mill.
- Man On The Run: Check into a City Traveler location with maximum felony active.
- Native Chicagoan: Check into every location in the game.
- Newb: Check into any location in the game for the first time ("The Palace" exclusive mission).
- Newly Elected: Become the mayor of a City Traveler location.
- Nightcrawler: Check into Blume during a blackout.
- Pack Your Bags: Check into the Owl Motel and Crazy Moose Inn within 240 seconds of each other.
- Pier Pressure: Check into the Navy Pier Building.
- Power Hungry: Become the mayor of three City Traveler locations at the same time.
- Power Of Friendship: In a multiplayer session, check into the same location as a player on your friends list within thirty seconds of each other.
- Regular: Check into the same location five times within a 7-day period.
- Romantic Getaway: In a multiplayer session, check into the Owl Motel with a friend after midnight (game time).
- Sophisticated: Check into the Chicago Arts & Sciences Center ("Signature Shot" exclusive mission).
- Take Five: Check into five unique locations in the game.
- Theater Buff: Check into the Ambrose Theatre, Cree Theater, and Phoebus Theater.
- Top Of The World: Check into the three tallest buildings in the game (the skyscrapers in the Loop and Mad Mile).
- Uber Tourist: Check in a total of 200 times.
- Water Under The Bridge: Check into the Cermak Bridge.
- We Are Not Alone: Check into the WKZ-TV Center during a communications disruption.
Easy XP and Level 50
Leave the hideout next to the river and train tracks. Turn around, and run to the highway. Kill the civilians in their vehicles to raise your wanted level. The higher your wanted level is the more XP you earn when you escape the police. As long as the civilians stay in their vehicles, the police will not be called. Turn around, and proceed down the freeway until you reach the train tracks below. Keep killing the civilians in their vehicles until the wanted level is full. When the wanted level is full, proceed to the L-Train Station. Jump over the fence, and steal any vehicle. Once you obtain a vehicle, get caught by the yellow scan to send the maximum number of cops after you. Smash through the fence, and drive down the tunnel. Stop on the left side of the tracks, and wait inside your vehicle until the train appears. Start driving backwards so the train can enter the tunnel. The train will not hit your vehicle. Leave the vehicle, and enter the train. This is where you will be leveling up. When the white scan ends, you will be rewarded with 300 XP for "Police Evasion". Run to the end of the tunnel while you are in the train. When the white scan ends, wait for the helicopter to leave your area, then shoot the ground to cause the white scan to appear again, giving the cops another 50 seconds to find you. Since you are in an area where the cops will not find you, you simply just have to wait the 50 seconds to be rewarded with another 300 XP. Repeat this process as many times as desired. Note: There are times when the wanted meter will decrease. This is because you took too long to shoot the ground. If this happens, just kill one of the civilians in the train to get your wanted level back to the maximum level. Additionally, Watch Dogs does not autosave when you level up. You have to go back to the hideout and sleep to save your progress. Thus, it is recommended to save every ten levels to avoid any chance of losing too much progress.
Unlock the L-train hack, then stand on or in a train. Shoot until a civilian calls the police, then remain on or in the train during the chase to get easy XP. Hack the train to keep it moving. Repeat this process as many times as desired.
Infinite money
First, obtain the ATM Hack Boost, Profiler Optimization, and ATM Hack Boost Plus hacking skills. Then, go to the Navy Pier Mall at the north-eastern area of the map. Walk around the mall, and hack all of the shoppers bank accounts. You can obtain 175,000+ one time around the mall. Repeat this process as many times as desired. Next, go to any ATM to claim the money from all the hacked bank accounts. This will release the money for you to spend on anything desired. Note: Make sure to often sleep/save at any hideout to avoid losing any progress. Additionally, you will also obtain all of the SongSneak collectibles using this trick.
Easy skill points
Buy a large amount of ammunition from a store, then get a wanted level. Hide out in the bathroom of your safe house. After the wanted level goes down, fire your weapon out the window to get your wanted level back up again. Allow your wanted level to go down again, and repeat the process as many times as desired.
Easy money
Go to the high stakes poker game in the northern area of The Loop. There is a Texas Hold 'Em game with a large buy in, and it has a lot of earning potential. While you are not dealing during the poker game, hack into the camera on the left side of the room. Use the camera to see how stressed the other players are to detect potential bluffs and which cards are being dealt and held. You can then make smart bets and play your cards using those advantages.
Easy online notoriety
Use the profiler to scan all high profile targets (blue squares) until you find a "Blume Affiliate" profile. Hack the affiliate, and allow them to call the Blume operator. This will force an "Online Hacking" invade upon the call ending. Use Focus to see when someone is in your game or not, due to the fact Focus does not work when another player invades your game. Use the profiler to find your online invader and gain the bounty if you find the player (usually 30-50 XP). For more of a challenge, you can allow them to hack you and try to gain more XP depending on the player. -From: Jesse Jessen
Easy shell game wins
Due to the way the game's graphics engine renders items, you can use the following trick to easily win the shell game (where you have to watch a ball being moved around between three cups and guess where it is located). Turn up the graphics settings to full under the options. Then, play a shell game, and pause the game after the ball has been moved and you must choose a cup. When you pause the game, you will see the ball has been rendered underneath one of the cups. You may also need to turn up the brightness on your TV/monitor to see it more easily. Simply pick the cup the ball is underneath to win the game. This trick works on all difficulty levels of the shell game.
Exit map
This glitch works in most garages and allows you to exit out of the map. The garage must have a garage door and a walkway door just to the right of the garage door. Pull a large sized deliver truck into the garage with the front end facing the far back wall. Back the delivery truck up against the walkway door as tightly as possible. Get out of the truck, climb on top of it, and position yourself so you are at the back of the truck facing the walkway door. Just to the right is a cement wall you can climb up, allowing you to exit the map into the building. Note: When exiting the map into the building, you can only go inside this building and anything attached to it. In order to return to the map, you either have to go back down the exact way you entered, kill yourself, or restart from the last save. This glitch can be helpful in multiple ways. 1. At just the right angle you can hack cameras and force an invade by hacking a "Blume Afilliates" profile to get easy online notoriety. 2. Get the police called on you, then exit the map. The police cannot shoot at you, nor can you shoot at them. They will eventually give up searching for you. Shoot the wall before the search ends to get easy XP. Repeat this as many times as desired. -From: Jesse Jessen
No police
Play Act 2: Mission 9 - "Uninvited", and meet Jordi for the explosives. This will trigger a cutscene. Skip the cutscene by pressing B. Destroy the truck with IEDs. After destroying the truck, you will get the "Reach the Sienna Brick Factory" objective. All missions in Watch Dogs normally have a warning zone that you cannot leave. If you leave the mission zone, you will have 15 seconds to return to the mission zone or else the mission will fail. However, when you get the "Reach the Sienna Brick Factory" objective, the warning zone will not appear for this part of the mission. Thus, you can now explore the map without any police appearing.
Easily escape Level 5 police chases
Go to the closest L-Line train platform, and enter one of the trains. Alternately, go to a tall parking garage, and drive to one of the top floors, but not the open roof level. Stay below a roof, and hide in your car once the police have lost sight of you. Remain hidden in that area until the police stop looking for you.
Clearing gang hideouts
Use the cameras near the entrance and inside the gang hideouts to help plan the best strategy. Tag the gang members to get an idea of their strength and locations. Use Jammers to prevent civilians from calling the police before beginning to clear the hideout. Also, make sure that you have located and profiled the gang leader before starting. Additionally, shoot out the tires of nearby cars to prevent the gang leader from easily escaping. Once you are ready to clear the hideout, lure anyone guarding the entrance away, and use stealth to defeat them (silenced weapon is recommended). Hide the body, then repeat for any other entrance guards. Hack available items, and use explosions to cause a distraction and/or kill gang members. You can then stealth kill gang members that are preoccupied with the explosion. After killing enough gang members, the gang leader will attempt to flee. When this happens, try to carefully knock him out while killing any remaining attacking gang members.
Killing Enforcers
To easily kill Enforcers, place an IED (sticky bomb) where you are confident the Enforcer will walk towards. Use a Lure, if needed. Then, equip the GL-94 grenade launcher, and ensure you have one to three rounds. When the Enforcer is next to the IED, detonate it, then quickly shoot the Enforcer in the chest or head to kill him. Note: You can also use Proximity IEDs, but you can be more accurate with a regular IED.
All ctOS Tower locations
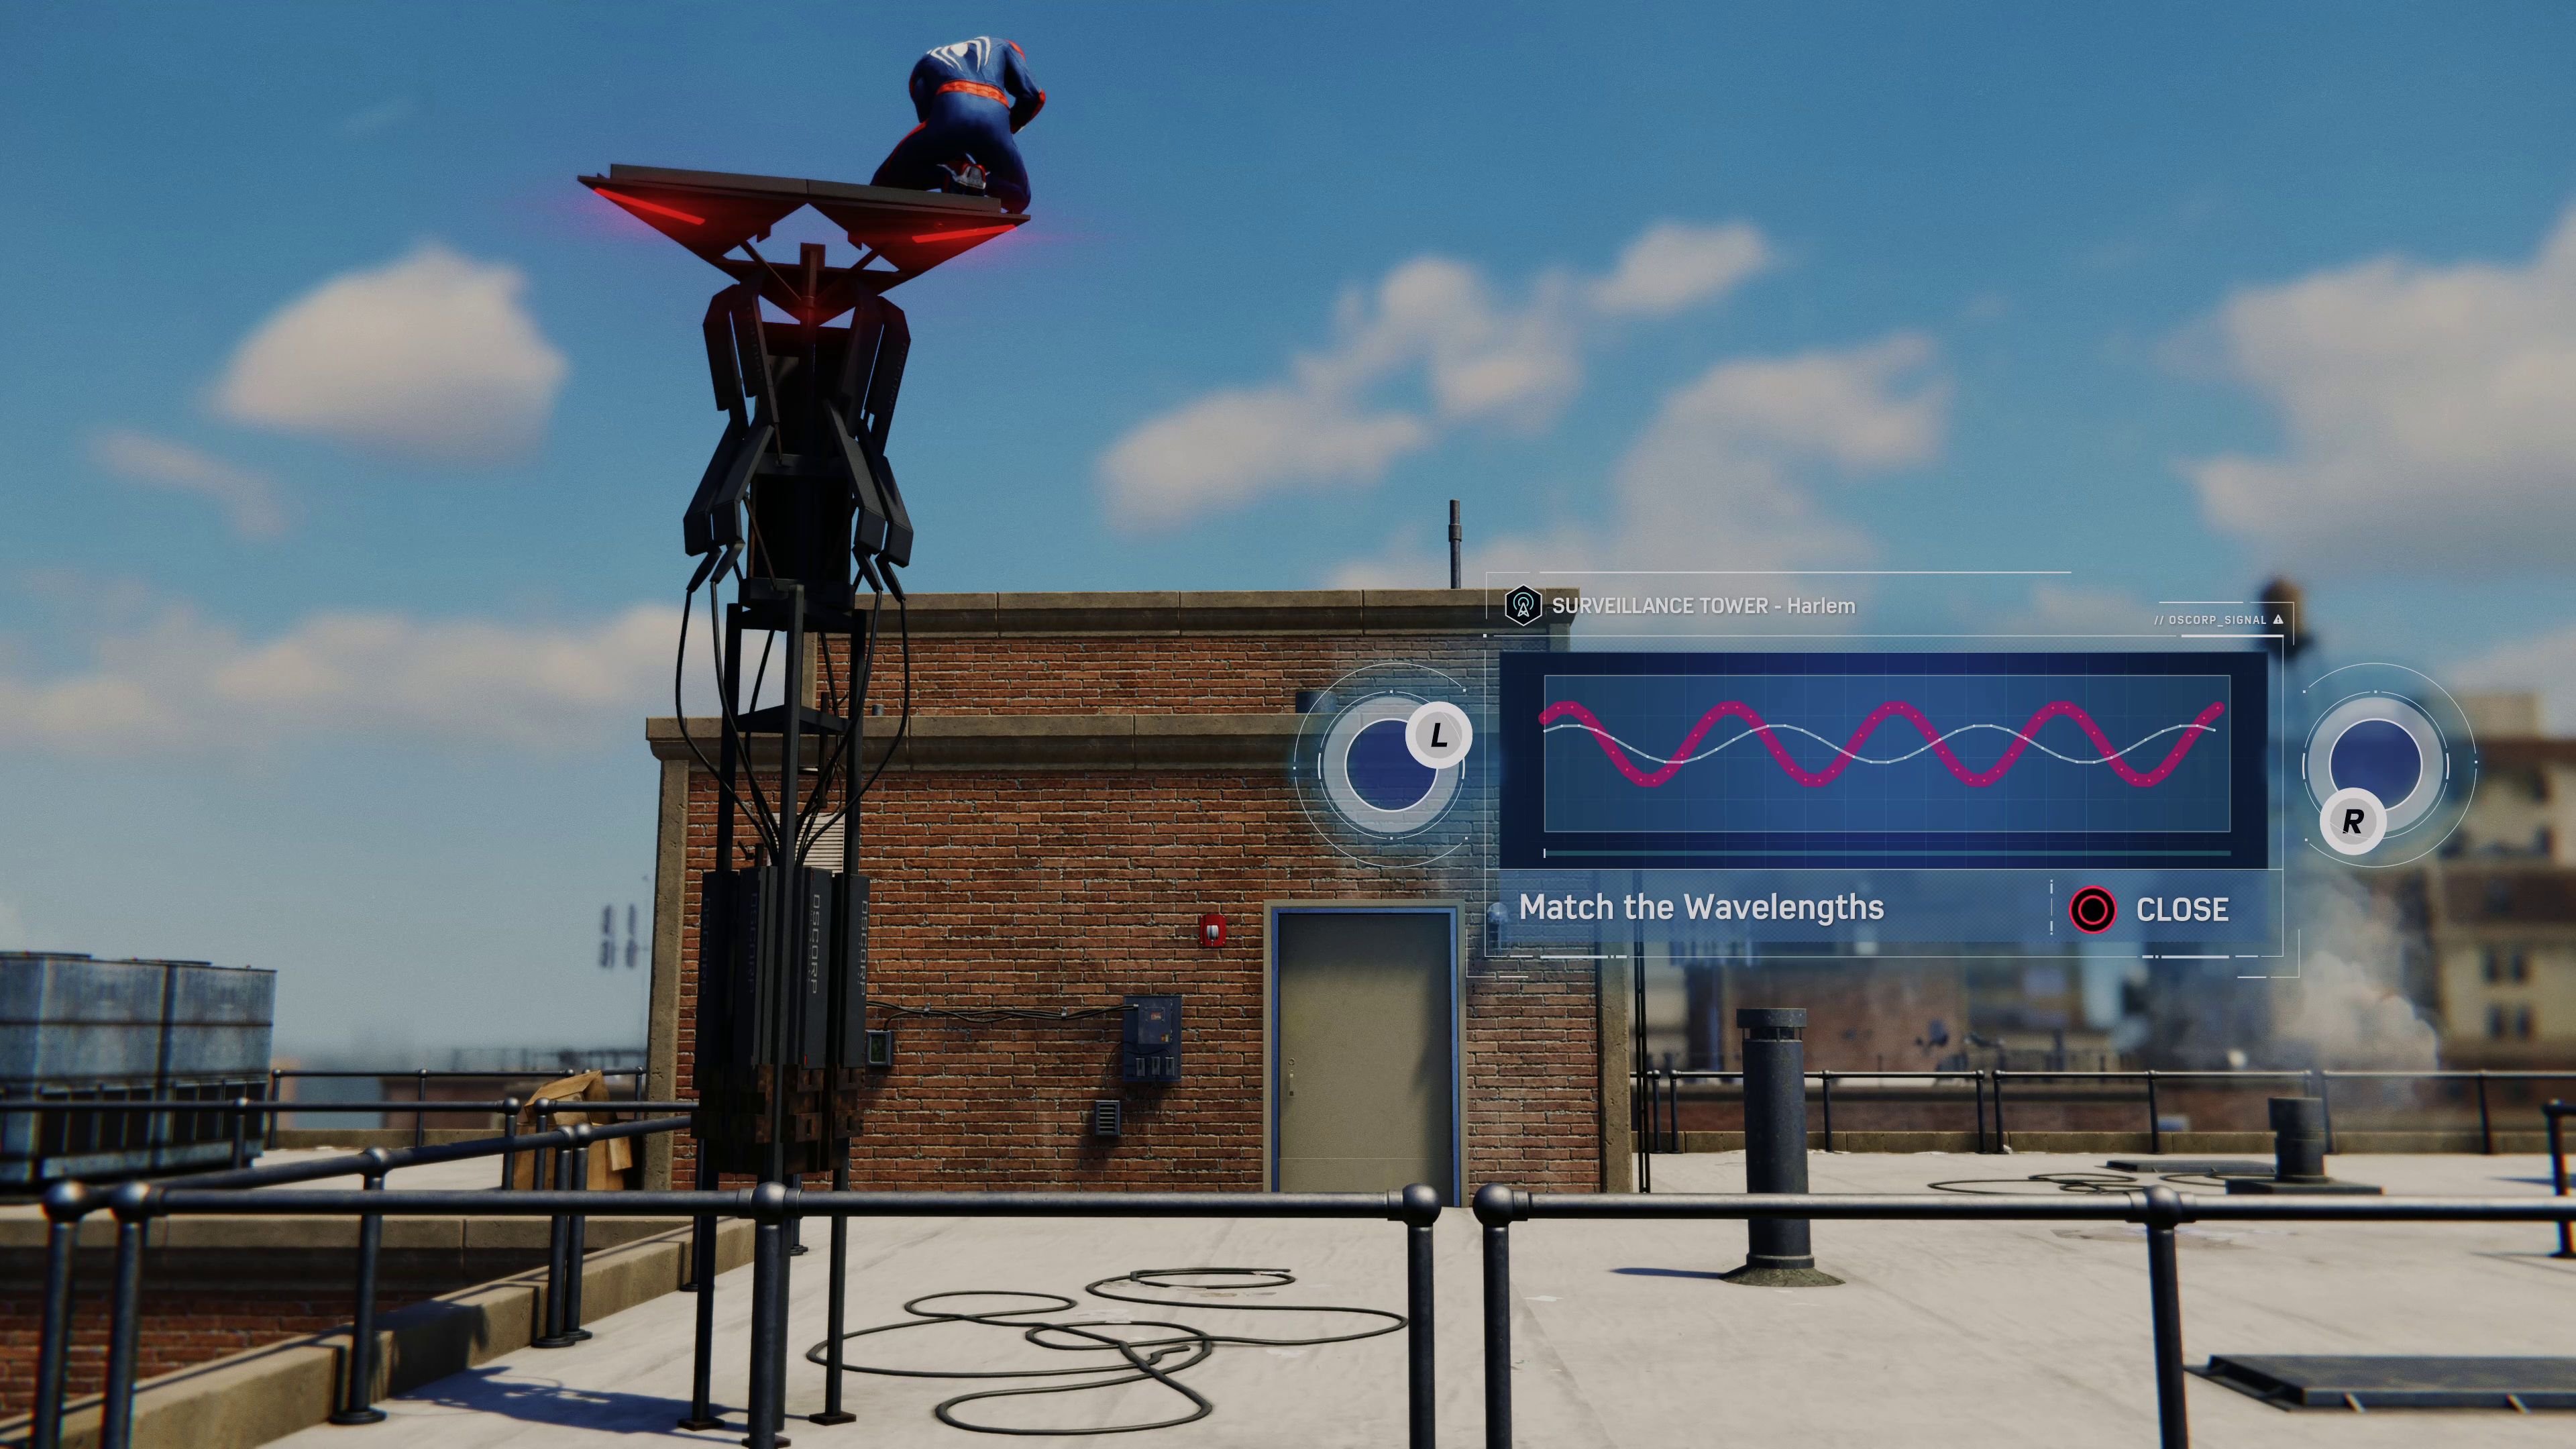
Search the indicated locations to unlock all 13 ctOS Towers to reveal all collectible locations on your map and get the "Clear Signals" achievement. Each tower also unlocks a fast travel point. You must hack ctOS systems to make the towers available. ctOS systems are always marked on your map from the beginning. You can either hack them in free roam mode or wait until the story requires you to do so (you have to hack all of them to complete the story). Once you have hacked the ctOS systems, you can activate the towers. They are all on rooftops, requiring some climbing and hacking skills. Use surveillance cameras to find little control boxes that open locked doors. None of the towers are missable, and you can still get them in free roam mode after completing the story. Since they reveal all collectibles and unlock additional fast travel points, it is recommended you hack all ctOS Towers as early as possible in the game.
All ctOS Breach locations
Go to the indicated locations to complete all 16 ctOS Breaches and get the "System Mangler" achievement. To unlock their locations, you must activate all 13 ctOS Towers. The ctOS Breaches are side-events where you must hack five boxes within a certain time limit. You sometimes have to climb buildings or use surveillance cameras to reach them. In certain instances you even need to place a vehicle in front of a wall and use it to help you reach an area. You can start the breaches by hacking the first box. Note: As with all other side activities and collectibles, you can still do this after completing the story.
All QR Code locations
Search the indicated locations to find all 16 QR Codes. Find all QR Codes to unlock the QR Code investigation mission. Successfully complete the mission to unlock the Tommy Gun weapon and "Read-only" achievement. To reveal the code locations on your map, you must unlock all ctOS Towers. The displayed locations are not very accurate because you must find one specific surveillance camera and look at the QR Code from a certain angle. The correct camera is sometimes far away, or can only be activated from an elevated position. All codes are saved automatically once you find them. None of them are missable, and you can still get them in free roam mode after completing the story. They are also a requirement to get the "They Call Him The Vigilante" achievement.
Easy "A Wrench In The Works" mission
In the "A Wrench In The Works" mission, it does not have to become a road chase. Look at Angelo Tucci's route on the map, and wait for him at one of the intersections. Hack the traffic lights to stop the convoy, and use a Blackout if needed. Wait behind a bus stop or other obstacle so civilians will not notice your weapon. When Tucci comes into your view, Focus and kill him. Note: You will have to escape quickly with a car.
Easy "Alone" digital trip
While being followed by some robots in the "Alone" digital trip, enter a dark zone, then exit the dark zone, and the robots should be standing still in the barrier separating the light and darkness. Use this time to shoot the robots without worrying about taking damage.
Easy "Brandon Docks ctOS Control Center" mission
In the "Brandon Docks ctOS Control Center" mission, you can hack the ctOS without entering the building. The access terminal is inside the middle of the building and is visible from a laptop camera if you remove some barrels that are in the way. To do this, explode an electric device on the side of the building.
Easy "Dressed In Peels" mission
In the "Dressed In Peels" mission, after Jordi calls you, immediately leave the prison. This must be done before the police arrive at the entrance. After leaving the building, immediately go to the right, run downstairs, and enter the car. Drive out of the parking garage, go to the nearby train station, and hack a train. If a train is not available, run on the rails until you find one, but avoid the helicopter. Having the helicopter hack will help, as it will continue to follow you even after you are riding the train before eventually giving up the pursuit. You can also drive to the nearest harbor, and use a boat to escape.
Easy "Hold On, Kiddo" mission
In the "Hold On, Kiddo" mission, have a weapon ready after the train is hacked. You should be able to destroy one or more of the Fixers' vehicles before they have a chance to leave. Shoot at least one tire on a Fixer's car to make it easier to save Jackson.
Easy "No Turning Back" mission
In the "No Turning Back" mission, use Blackout to complete the objectives that require you to infiltrate the hotel, cross the rooftop, and escape the police. While at the cemetery, all the Fixers are visible from the beginning, and will not immediately hide. If your Focus Boost is available, you can use it to eliminate them one at a time.
Easy "Role Model" mission
In the "Role Model" mission, hack the cameras in the parking lot and inside the building to find all the guards (two on the balcony and eight around the perimeter). Use the explosives in the environment to kill as many guards as possible. Two cars with eight additional enemies will arrive after guards have been killed. If your hacking skill is high enough, use steam vents and other hackable items to kill them in the parking lot before they can exit their cars. You can also shoot them as soon as they exit the cars from a vantage point on the second floor in the building. Once all enemies have been killed, go to the third floor. Access the hacking point by the door at the top of the stairs to unlock the door where Jackson is located.
Easy "Sometimes You Still Lose" mission
In the "Sometimes You Still Lose" mission, the two terminals for the virus upload and central ctOS building are close to water. Get a boat, and navigate the canal. The police will be unable to follow you, and Damien's ctOS hacks will have no effect; the hacks will actually help block the police. Use the "Disrupt Helicopter" hack to keep safe from threats in the air. Get as close to the terminal as possible without being spotted, then wait until the police give up the pursuit for a few seconds. You can prolong this window of opportunity with Disrupt Coms or by causing a Blackout. You may also gain some time by closing the gates behind before initiating the Blackout.
Easy "Stare Into The Abyss" mission
In the "Stare Into The Abyss" mission, when the guards see you, Crispin will try escaping in his car. He will pass by and alert the guards by pointing a gun at them. Place a few IEDs on the road. When Crispin breaks the glass and runs outside, activate the IEDs to kill him. Additionally, since Crispin is near the door, only a single blackout is necessary. You can also use a non-lethal takedown instead of killing him.
Easy "The Wards ctOS Control Center" mission
In "The Wards ctOS Control Center" mission, there is a truck that will obstruct the camera's view of the console. Sneak into the truck, and quickly drive it away. Wait until the alert disappears, then return to hack the console through cameras.
Getting three star rank in Chess Survival: Puzzle 1
In Chess Survival: Puzzle 1, you will face two rooks and a king. To get a three star rank, you must make four moves without getting checkmated. Move your king up and to the left, and your opponent will be forced to waste a turn moving a rook to avoid being captured.
Finding missing Hotspots
Occasionally it may appear there are no Hotspots remaining to be checked in at, although your list is not complete. This happens when a Hotspot is hidden behind a side mission icon (for example, a Fixer Contract or Criminal Convoy). To correct this issue, enter the "Hotspots" menu on your smartphone to display all Hotspots in that particular section of the city. Scroll down until you find a Hotspot with no check-ins, and set a waypoint to it. If you do not find any Hotspots you have not checked in at, enter another section of the city, and repeat the process.
All City Hotspot locations
All 100 Hotspots are located in the following areas:
- 2nd Regiment Armory: Mad Mile
- 35 East Wacker Drive: The Loop
- Abandoned Station: Pawnee
- Abraham Lincoln Statue: The Loop
- Aiello's Bakery: The Wards
- Ambrose Theatre: The Loop
- Aon Center: The Loop
- Bernai Island: Pawnee
- Big Jim Colosimo's Cafe: The Wards
- Birthplace of the Chicago South Club: Mad Mile
- Bloody Maxwell Police Station: The Loop
- Blume: Pawnee
- Bootlegging Factory: The Loop
- Botanical Gardens: Parker Square
- Bram Steffan Pavilion: The Loop
- Bridge Construction: Pawnee
- Burned Down Factory: The Wards
- Carding Center: The Loop
- Cermak Bridge: Brandon Docks
- Chicago Arts & Sciences Center: The Loop
- Chicago Commerce Building: The Loop
- Chicago Eastland Disaster: The Loop
- Chicago World News Tower: Mad Mile
- City Hall: The Loop
- City Marina: The Loop
- Commonwealth Hotel: Mad Mile
- Crazy Moose Inn: Pawnee
- Cree Theater: The Loop
- Crowley Building: Mad Mile
- Dam: Pawnee
- Deadman's Corner: The Wards
- Desplaines Street Police Station: The Loop
- Face Fountain: The Loop
- Farris Halstead Library: Parker Square
- Forever Sculpture: The Loop
- Four Deuces: Brandon Docks
- Green Hook Tackle Shop: Pawnee
- Hanson Park: Mad Mile
- Harbor Lighthouse: The Loop
- Hawthorne Hotel: The Wards
- Haymarket Square Riot: The Loop
- Hit on Johnny Torrio: The Wards
- Home of Lloyd Pinkerton: The Wards
- Home of Samuel "Nails" Morton: Mad Mile
- John A. Walsh Public School: The Wards
- John Hancock Center: Mad Mile
- Junkyard: Pawnee
- Lakeshore Water Refinery: Brandon Docks
- Lexington Hotel: The Loop
- Lipstick Killer - Brown Crime Scene: Mad Mile
- Lipstick Killer - Degnan Crime Scene: Mad Mile
- Lipstick Killer - Ross Crime Scene: Mad Mile
- Lombardo Murder: The Loop
- May Stadium: Parker Square
- Meadowmoore Dairies: The Loop
- Miller's Rail Bar: The Loop
- Murder Castle: The Wards
- Navy Pier Building: Mad Mile
- O'Banion's Flower Shop: Mad Mile
- Ocean Tower: The Loop
- Owl Motel: Parker Square
- Palin Correctional Center: The Loop
- Parker Square Marina: Parker Square
- Pawnee Dam: Pawnee
- Pawnee Mill: Pawnee
- Pawnee Trailer Park: Pawnee
- Phoebus Theater: Parker Square
- Piper Gate: Parker Square
- Randolph Street Subway Terminal: The Loop
- Raven Building: The Loop
- Rossi-Fremont: The Wards
- Saffard Memorial Fountain: The Loop
- Saga Theater: Mad Mile
- Seaside Restaurant: Mad Mile
- Secret Six: The Loop
- Seventh Federal Bank: The Loop
- Sheridan Wave Club: Mad Mile
- Shotgun Man: The Wards
- Sienna Brick Factory: Brandon Docks
- South Tech University: The Loop
- St. Joseph Cemetery: Parker Square
- St. Jude Police League: The Loop
- St. Valentine's Day Massacre: Mad Mile
- St. Valentine's Day Massacre Lookout: Mad Mile
- Stockyards: The Wards
- Tremont House Hotel: The Loop
- The Chicago Yacht Club: Brandon Docks
- The Fort Dearborn Massacre: The Loop
- The Murder Market: The Wards
- The Pawnee Murder House: Pawnee
- The Sands: Mad Mile
- The Sausage Vat Murder: Mad Mile
- Triomphe Tower: Mad Mile
- V Alley: The Wards
- Vault Tower: The Loop
- Vyvyn K. Turner Bridge: Pawnee
- Water Tower: Mad Mile
- Willis Tower: The Loop
- Windy City Lighthouse: The Loop
- Windy City Shipyards: Brandon Docks
- WKZ-TV Center: The Loop
- WKZ-TV Tower: Mad Mile
Read more: http://www.cheatcc.com/xbox360/watchdogscheatscodes.html#ixzz4yODwq8wc
Under Creative Commons License: Attribution Non-Commercial No Derivatives